
Hi Everyone,
In this tutorial, I will show you how to create a bill in Zoho Books.
Why do we need to create a bill?
Creating bills is essentially the process of documenting your business expenses. It’s like keeping a detailed record of what you owe to others. This helps in accurately reflecting your financial situation, ensuring transparency in your transactions. Bills also play a key role in tracking your spending, planning payments to avoid late fees, and staying on top of your budget. By creating clear records, bills make tax reporting easier and contribute to maintaining positive relationships with your suppliers. In simple terms, making bills is a crucial part of managing your business finances effectively.
Steps to create bills in ZohoBooks.
Here, I am giving you the steps of how to create bills in Zoho Books.
a. Sign in to your Zoho Books account.

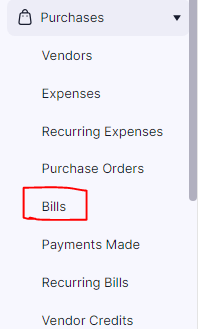
b. Look at the “purchase” section in the main menu.

c. Under the purchase section look for the “Bills” section and click on it.
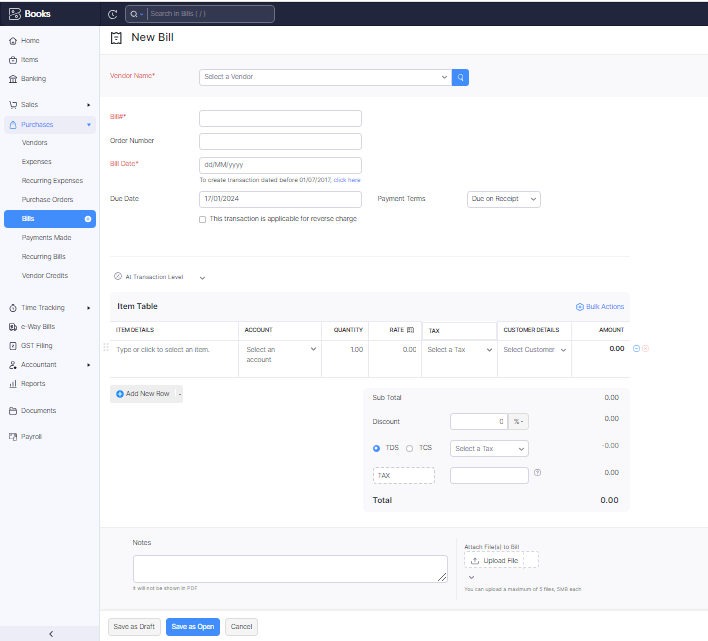
d. Click on “New Bill” or a similar option to create a new one.

e. Enter the details of the vendor who sent you the bill, like their name and contact info.
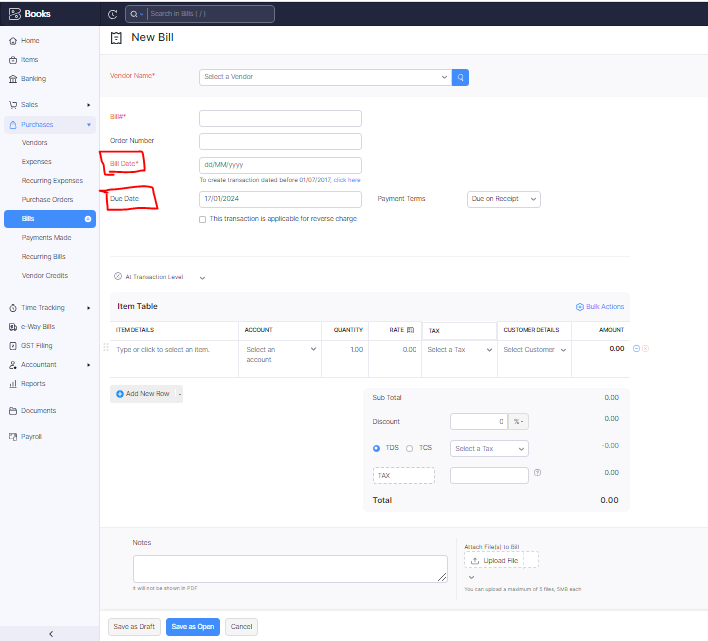
f. Input the bill number, date, and due date, along with any payment terms.
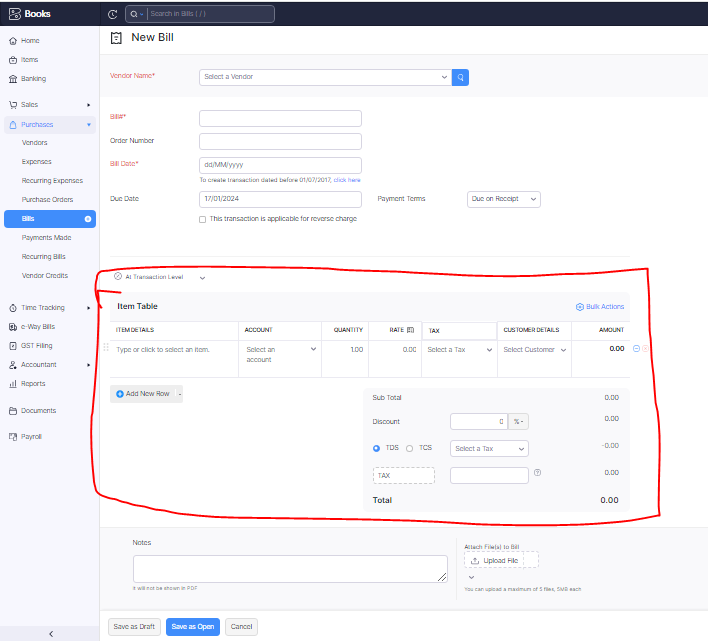
g. Add each item you’re being billed for, including quantity, rate, and taxes if applicable.
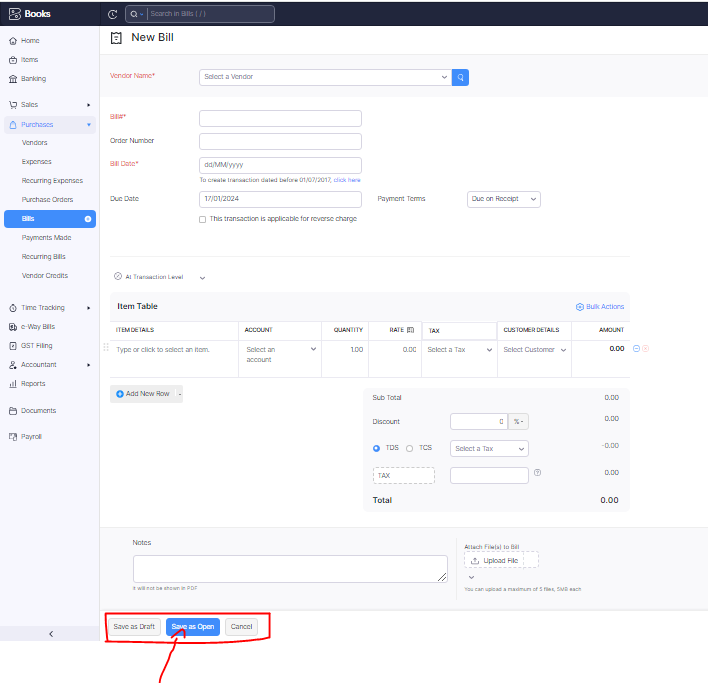
h. Double-check everything, then hit “Save as Draft” to save the bill.
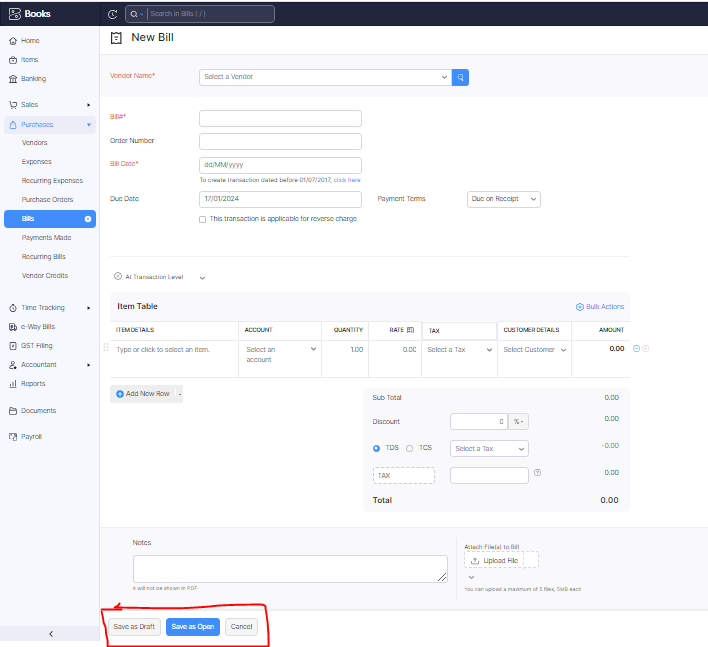
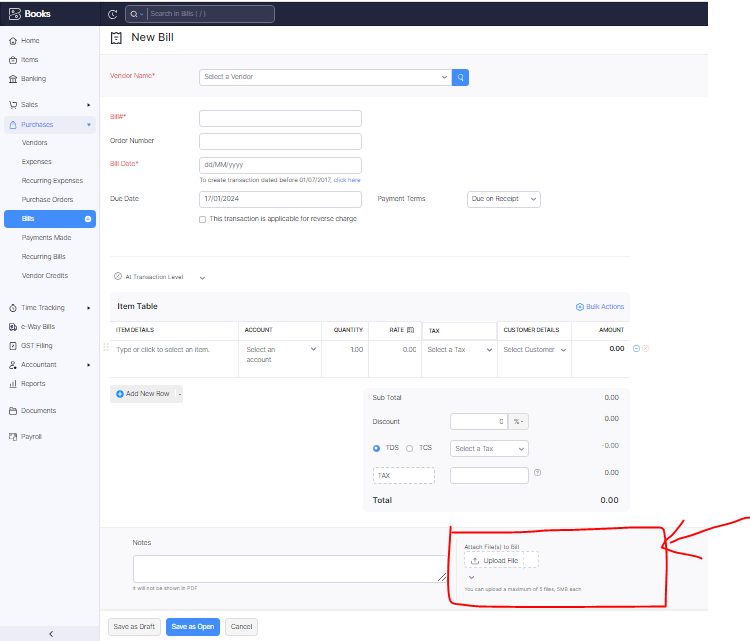
I. If you have digital receipts, you can attach them to the bill.
j. If you’re sending the bill, you might have an option to mark it as “Sent.”
k. Your bill is now created and saved in Zoho Books, ready for your records.
Thanks,